A chair fit for a marauder! Well, two chairs actually. My good friend John came over and we built a pair of small chairs based on
Steve Ramsey's designs. Ramsey is a great person to follow if you're interested in getting into woodworking. He has fairly simple projects, most of which can be made using a basic set of power and hand tools. Ramsey does have quirky humor to get past first though.
But back to our project! We started with a couple of half sheets of 1/2" BCX plywood. If you're unfamiliar with what BCX means then keep reading. Plywood is typically graded on a letter scale so BCX means that one side (B side) is sanded fairly smooth but may have some voids that are filled with wood fill. The other side (C) is not quite smooth and may have some unfilled voids. The X stands for exterior grade glue between the layers of wood. Since this will be used outside, the exterior grade glue will be needed and we are going to paint the chairs with milk paint to protect the wood.
The first step was to cut the plywood down and laminate them together to form boards 1" thick. And this is where I realized I need more clamps! If ever you need to buy a woodworking a gift, clamps are a safe bet.
 |
| Cut the plywood to about 10" wide and laminated them. |
 |
| We added countersunk screws to help hold where clamps should be. |
 |
| One chair laminating complete. |
 |
| Here are some unfilled voids on the 'C' sides which were glued together. |
 |
| Adding some screws. |
 |
| All glued! |
After we let the glue set up for about 45 minutes we started squaring up the edges. I started with a straightedge and a router to get one side straight and then moved it to the table saw to square up the other side. Having John around to act as the outfeed table since I don't have one (yet) was very helpful and made the job a lot safer.
 |
| Straight bit in the router following a straight edge. |
 |
| Squaring the other side, John is the outfeed table. |
Next we squared up the ends. For this step I set up a sacrificial fence on the table saw. This was simply a piece of 1/2" MDF that was clamped to my fence and partially covered the blade. I started with the blade below the table surface and, with saw on, raised the blade thereby cutting an arched groove for the blade to ride in. Part of the blade protrudes beyond the sacrificial fence and this is what we used to square the ends. By using the miter gauge to guide the boards along the sacrificial fence the table saw takes off a fraction of an inch and squares the end of the board.
 |
| Sacrificial fence installed. |
We focused on the seats of the chairs next. By following the plan, we basically made a 7" wide through tenon that would slide through a mortise in the back of the chair. The long cuts we made on the table saw and finished with the jigsaw. We cut the short shoulders with the jigsaw as well, removing strips about 20" long by 1 1/2" wide.
 |
| Using a combination square to help layout the lines. |
 |
| First cuts were made on the table saw. |
 |
| Finished with the jigsaw, rounding the outside corners as well. |
 |
| Sanding! |
 |
| Sanding the rounded corners. |
The chair backs were next to do. I attempted to add a bit of flourish to my chair and John cut a simple curve on the top. The mortise was cut with a paddle bit in the drill and finished with the jigsaw.
 |
| My poorly made handle. A narrower jigsaw blade would have made this easier. |
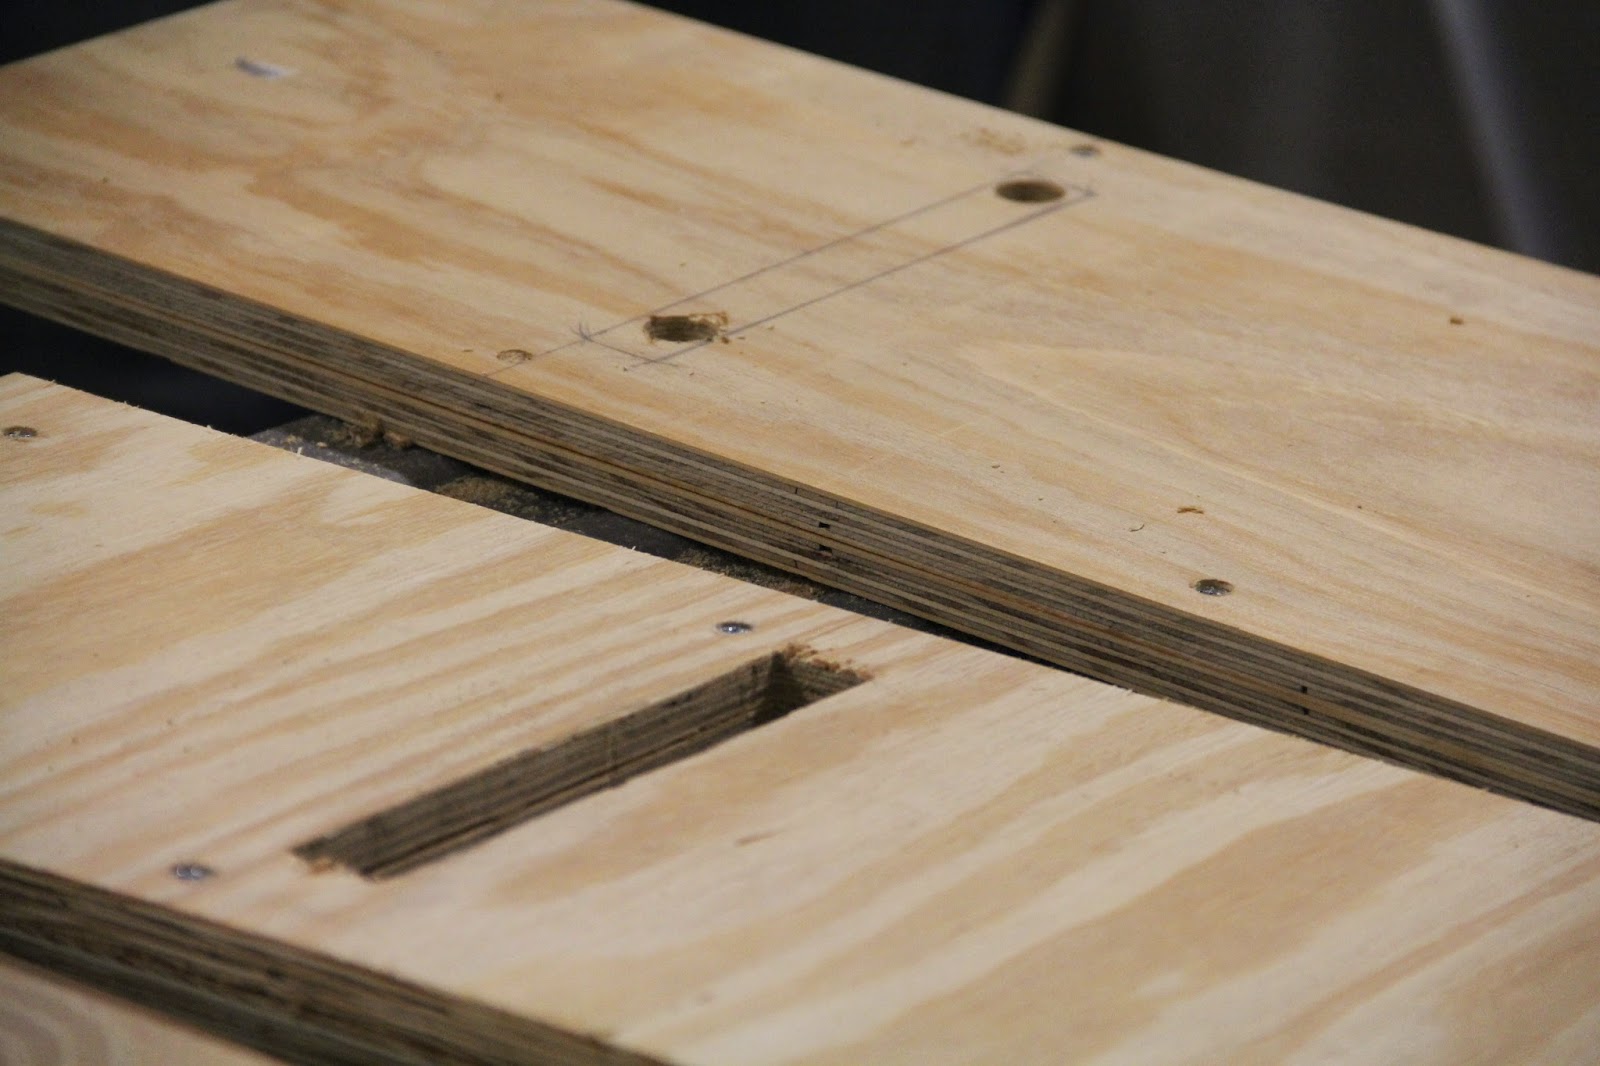 |
| John's mortise is started with the holes to make room for the jigsaw to be used. |
And this is about where disaster struck. Or rather, my fat ass struck. In sitting in my chair I leaned back a bit and heard cracking wood. Reinforcement was needed desperately.
 |
| Disaster! |
 |
| My chair in its unbroken state. |
 |
| John's chair in all its glory. |
John and I used some of the scraps we cut off to reinforce the backs. By mounting the narrow strips we cut from the seats on the chair backs, we added a bit of strength. I also added some plywood to the sides to add more strength since my chair already had cracks in it. I took a single sheet and mounted it to these reinforcement boards to make a holder for the seat when the chair is disassembled.
 |
| Completed chairs. |
 |
| The reinforcements and holder on the back side of my chair back. |
 |
| The seat in the holder. |
My chair is much stronger now but much heavier than I had thought it would be. Both John and I need to paint our chairs. Mine will be emerald green and John had picked a dark red. I need to do more sanding before I paint as the seat fits too snugly in the holder and paint will either prevent it from fitting at all or it will just be scraped off.
As with all my projects I learned quite a lot. Narrower jigsaw blades will help with the curves I wanted to cut. I also would benefit from building a
crosscut sled for the table saw.
Here is a link to the SketchUp plan for the basic chairs. I would recommend checking out
SketchUp for woodworkers as it is a good tutorial on how to use the program for planning and designing your builds.


