Aug 29, 2014

Workshop Update

With the table saw now in place (see A Growing Workshop) I need to add some more storage and clear up the little available floor space I have in my workshop. I picked up a few old kitchen wall cabinets from my local ReStore as well as a scrap of peg board. I also managed to find a 2x2 furring strip to fit nicely behind the pegboard to stand it away from the wall so that I can use peg hooks and such. I was able to cut four pieces from this 2x2 for mounting the pegboard and I placed them vertically and evenly spaced on the wall. They provide a strong frame to mount the pegboard to.

Here is my new (to me) table saw and the wall cabinets and peg board.

Another angle of the slightly more organized workshop.


Another angle. You can see how crowded it is with the saw
now set up in the center.
The table saw will be nice to have and I have been thinking of moving the miter saw and bench out to the garage for projects that don't require quite as much precision as the furniture making I will be doing in the basement. This would free up some space and allow me to build an outfeed table for the Ridgid saw allowing me to cut larger panels than the 2'x4' project panels I've been using. I spent some time cleaning the surface of the table saw with some WD-40 and a green scrubbing pad to remove the small amounts of rust on it. I also cleaned and lubricated the threaded rods used for adjusting the bevel and blade height. This made both of those functions much smoother. I also took the time and ensured the bevel angles were set properly on the guide. All I needed was my carpenter's square to ensure vertical and 45 degree angles. I found that the hand wheels used to adjust the blade were both cracked and so I epoxied the inner flanged nut in the wheel to seal up the cracks and prevent the nut from slipping in the wheel when I turn it. This works for now but I would like to eventually replace the plastic wheels with some aluminum ones. With that being said, I am looking forward to my next project of building a Kallax-like bookshelf for our office. And Siri also found us something to work on afterwards:

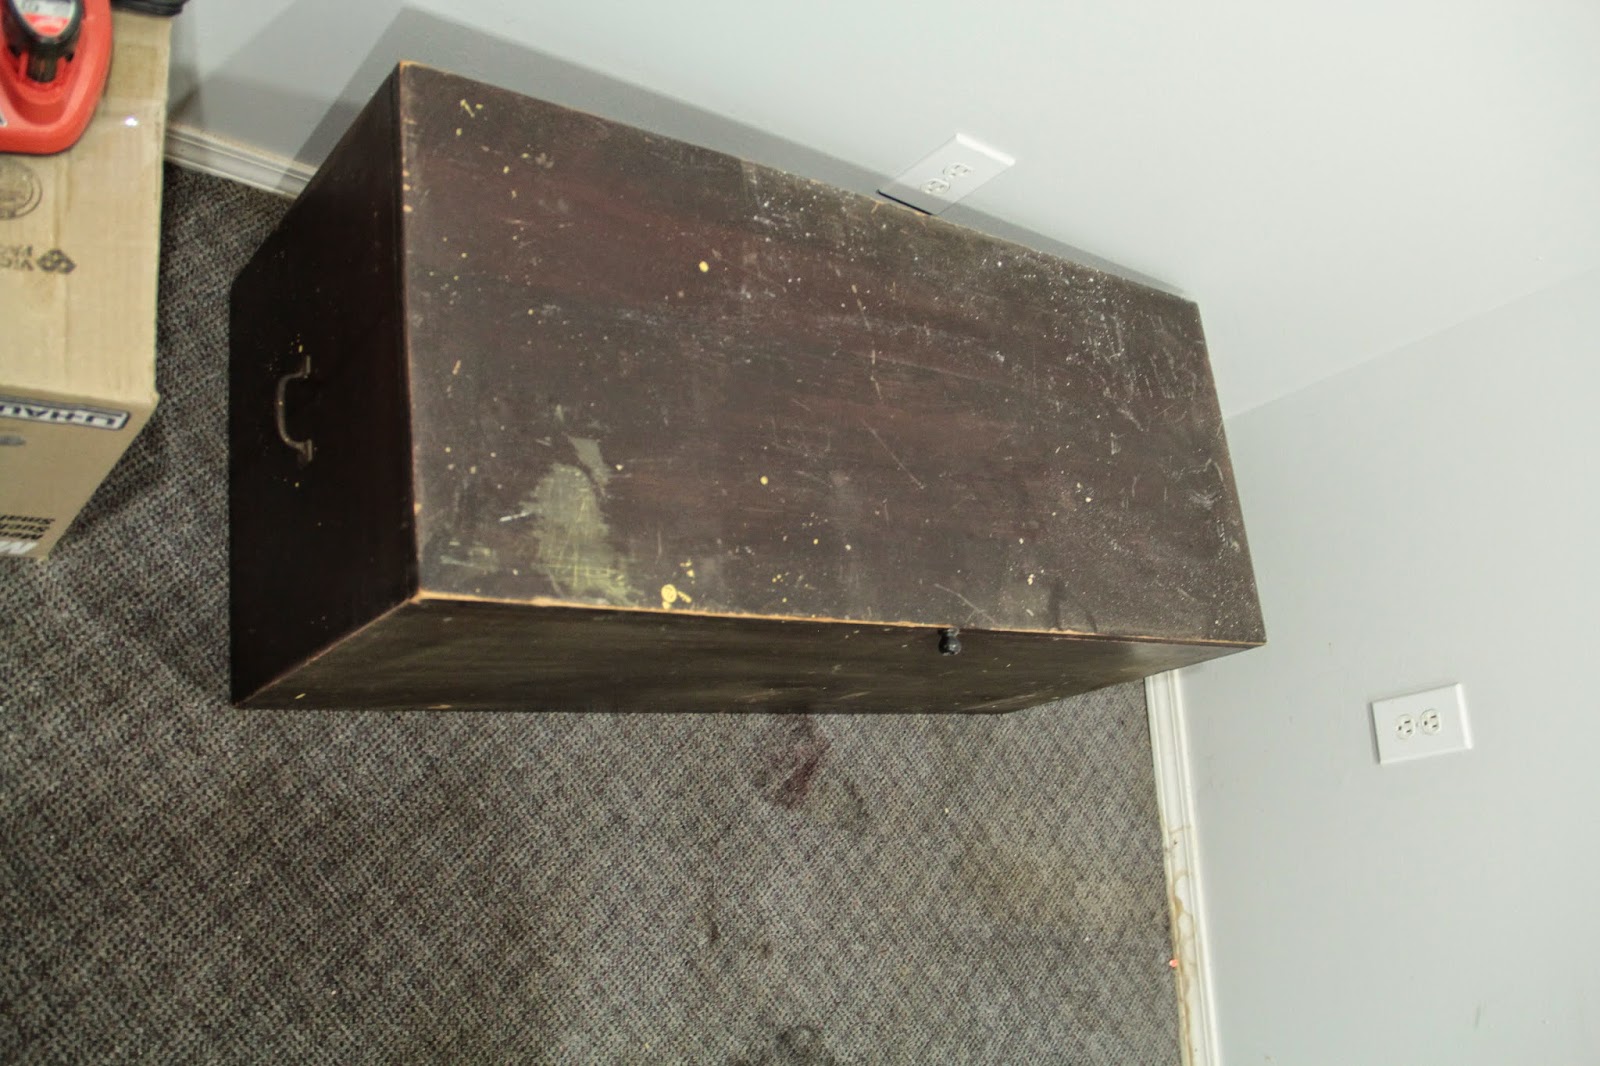
A nice pine chest from ReStore.
It needs some cleaning.
We collected this piece at ReStore for a bargain. I want to use my new random orbital sander to take the current paint off and remove any small blemishes. I think we are going to paint it white and try to add some distress effects to it to give it a nice antique look. I'll be posting plans and pictures of the bookshelf build first and then expect an update on the chest.


Aug 22, 2014

A Growing Workshop

As I build larger and more complicated pieces, I need to grow my tool repository. All of the work I've done up to this point has been accomplished with a basic set: a low powered Black & Decker drill, a hand saw, a miter saw, a hammer, screw drivers, a dowel jig, a circular saw, and a few clamps. I picked up a Rigid 2412 table saw, similar to the one pictured below, off of Craigslist.

My model table saw (minus the rust).
My buddy John helped me carry it down to the workshop last night and I still have to bolt it together and tune it up. I plan to follow this guide from Wood Magazine to tune it and hopefully get some good results. I would like it to be as accurate as possible since I don't have a jointer to create clean surfaces for edge gluing panels and I will be using this saw to fill that role. I'll eventually build an outfeed table for larger boards but I should be able to manage a few projects without one.

The next project is going to be a bookshelf similar to the Kallax series from IKEA. I will be using the table saw to create dados and rabbet joints for the piece. I plan to make it from a veneer plywood and dress the plywood ends with some moulding.

The next tool I will likely get is a router. I'd like to find one that is robust enough to be used both in a table and freehand but still for a reasonable price. I'll probably return to Craigslist or find a refurbished one from one of the CPO outlets. If you haven't heard of CPO they are a reconditioned tools outlet and they have an enormous selection at great prices. I found a Rigid 5" random orbit sander for half of the cost of a new one.

Now where to keep all of these things? ReStore to the rescue! ReStore is run by Habitat for Humanity and carries donated items from many places including home remodeling projects. I plan to pick up some wall cabinets from one of their locations to store many of my supplies and tools. Since I have a small workshop (about 10' x 12') I have to make good use of my wall space. Any other floor or bench tools I get will have to be put on mobile bases so that I can move them around as I work with larger timbers and sheets of plywood.

Work safe!

Aug 19, 2014

A Vanity For Siri

While simultaneously building my workbench, I painted Siri's vanity that I had built earlier in the month. Unfortunately I didn't take any pictures of construction so I will describe some of the build details with pictures of the finished product.

The finished product with Siri's things already piling up!
I started with a 2'x4' edge glued pine board I picked up at HD. I don't have a jointer or other such tools for doing edge gluing myself so this was my only option for the top. I built a frame with 1"x6" pine which are attached to the bottom side of the edge glued board by some angle brackets. I also put in some 3/8" dowels to keep the boards flush with the sides and back of the top board. I didn't put on a front board as the drawer face acts as the front of the frame. In the corners I attached the spindle legs to the frame. I also ran a 1"x6" board on the inside of the frame to basically sandwich the legs between them and the side frame boards. This helps with stability and stiffens the entire table up a bit.

Full extension slides allow the drawer to come out all the way.
Siri won't have to reach in the back to get anything out.

I didn't get the soft close slides or self closing slides. These
work just fine.
The full extension drawer slides attach to 1"x6" boards on the inside of the frame. The drawer is made from a 1"x6" face and 1"x4" framing. The bottom is a sheet of lauan cut to size. I don't have a router and didn't have a table saw at the time (I do now!) so I wasn't able to cut dados for the bottom to fit in to. It is simply nailed to the bottom of the frame. It is not the strongest construction but it shouldn't see too heavy of use.

I used deck spindles for the legs. I did
something similar with her craft table.
I used some nice 1"x2" boards for the leg spanners. These were attached with some dowels and wood glue. I actually don't have a clamp large enough to span the width of the table so I used a ratchet strap to act as a clamp (don't judge me).


These show my lack of skill on joinery. The leg rails are slightly
inset here.

The other side's rails are nearly touching. Measure twice!
As this was the second project I built (the first was the craft table, I may post pictures later) I am quite happy with it. One shouldn't expect to turn out perfect items this early in the process. There are a few things I realized I need to improve: finishing and measuring. I didn't properly measure the inset for the dowels on the leg spanners as shown. I had some trouble with the drawer as well. I made it a bit too long the first time around so I had to trim it down to size before I glued it up, thankfully. I finished it by sanding and painting. I started with 80 grit sand paper and worked up to 220 before painting. I put down 2 coats of primer and sanded with 220 grit after each coat. I used spray lacquer paint for the finish coats. I put on 3 coats of paint and sanded with 320 grit after each coat. Lastly, I put on 2 coats of clear lacquer. I think now that I probably should have gone with a polyurethane which would have given it a harder, stronger finish. All of the sanding was done by hand but I ordered a reconditioned Rigid power sander which should help in the future. Obviously the spindle legs would have needed hand sanding due to the detail regardless but the power sander would have helped with the initial sanding and between primer coats.


Aug 11, 2014

Let's Build a Workbench

I've been building a vanity for the girlfriend and all of my work has had to happen on the floor. Well no longer! Today I built myself a basic workbench out of some 2x4s and MDF. It is a basic design but is quite sturdy. Here's how I did it:
Here I am making the legs with two 2x4s I laminated together.

I put them together with 2 1/2" screws...

...and a bit of wood glue.

The completed legs are 40" tall. A good standing height for me.

I built the side frames by connecting two legs with 18" boards.

And just copied it for the other side.

Attaching the side frames with 46" long boards.

Front and back done.

Standing up. I will have to fashion some way to level it on my uneven floor.
I added a cross beam for supporting the top surface.

I used 3/4" MDF for the top. It is strong and I won't mind
screwing into it or ruining it. It is sacrificial.

First use! I am using the workbench to complete the workbench.
I clamped a 1/2" MDF panel down to cut it for the bottom shelf.

I had to cut it to fit width and depth as well as cutting notches
to accommodate the legs.

All done! Miter saw fits nicely on top.

And cleaned up the workshop.
Most of the bench was put together with some wood glue and then 2 1/2" screws. The MDF panels were 2'x4' and attached with 1 1/4" screws. The top panel was not cut and overhangs on the front and sides. It is flush with the back of the bench since it will be placed against a wall. I haven't yet decided if I will mount it to the wall for stability or keep is somewhat mobile. The frame was built using 7 2"x4"x8' pine boards. I used my miter saw for the framing cuts and a circular saw for the MDF. The MDF creates a very fine dust when cut so be sure to wear good respiratory protection. I will be investing in a new respirator as I found that my glasses and safety glasses fog up after 4 or 5 breathes with the disposable masks.

Aug 7, 2014

The Beginning

I've always enjoyed building things, from my Lego's and K'nex as a child to the hovercraft and trebuchet my friends and I built in high school. I built a small craft table for my girlfriend a few months  ago and have decided to get more into woodworking. I wanted to record my experience and growth as a woodworker so I created this blog. Join me as I try to find the right tools, (poorly) draw up plans, and learn with me as I start and hopefully finish the builds.