With the table saw now in place (see
A Growing Workshop) I need to add some more storage and clear up the little available floor space I have in my workshop. I picked up a few old kitchen wall cabinets from my local ReStore as well as a scrap of peg board. I also managed to find a 2x2 furring strip to fit nicely behind the pegboard to stand it away from the wall so that I can use peg hooks and such. I was able to cut four pieces from this 2x2 for mounting the pegboard and I placed them vertically and evenly spaced on the wall. They provide a strong frame to mount the pegboard to.
 |
| Here is my new (to me) table saw and the wall cabinets and peg board. |
 |
| Another angle of the slightly more organized workshop. |
 |
Another angle. You can see how crowded it is with the saw
now set up in the center. |
The table saw will be nice to have and I have been thinking of moving the miter saw and bench out to the garage for projects that don't require quite as much precision as the furniture making I will be doing in the basement. This would free up some space and allow me to build an outfeed table for the Ridgid saw allowing me to cut larger panels than the 2'x4' project panels I've been using. I spent some time cleaning the surface of the table saw with some WD-40 and a green scrubbing pad to remove the small amounts of rust on it. I also cleaned and lubricated the threaded rods used for adjusting the bevel and blade height. This made both of those functions much smoother. I also took the time and ensured the bevel angles were set properly on the guide. All I needed was my carpenter's square to ensure vertical and 45 degree angles. I found that the hand wheels used to adjust the blade were both cracked and so I epoxied the inner flanged nut in the wheel to seal up the cracks and prevent the nut from slipping in the wheel when I turn it. This works for now but I would like to eventually replace the plastic wheels with some aluminum ones. With that being said, I am looking forward to my next project of building a
Kallax-like bookshelf for our office. And Siri also found us something to work on afterwards:
 |
| A nice pine chest from ReStore. |
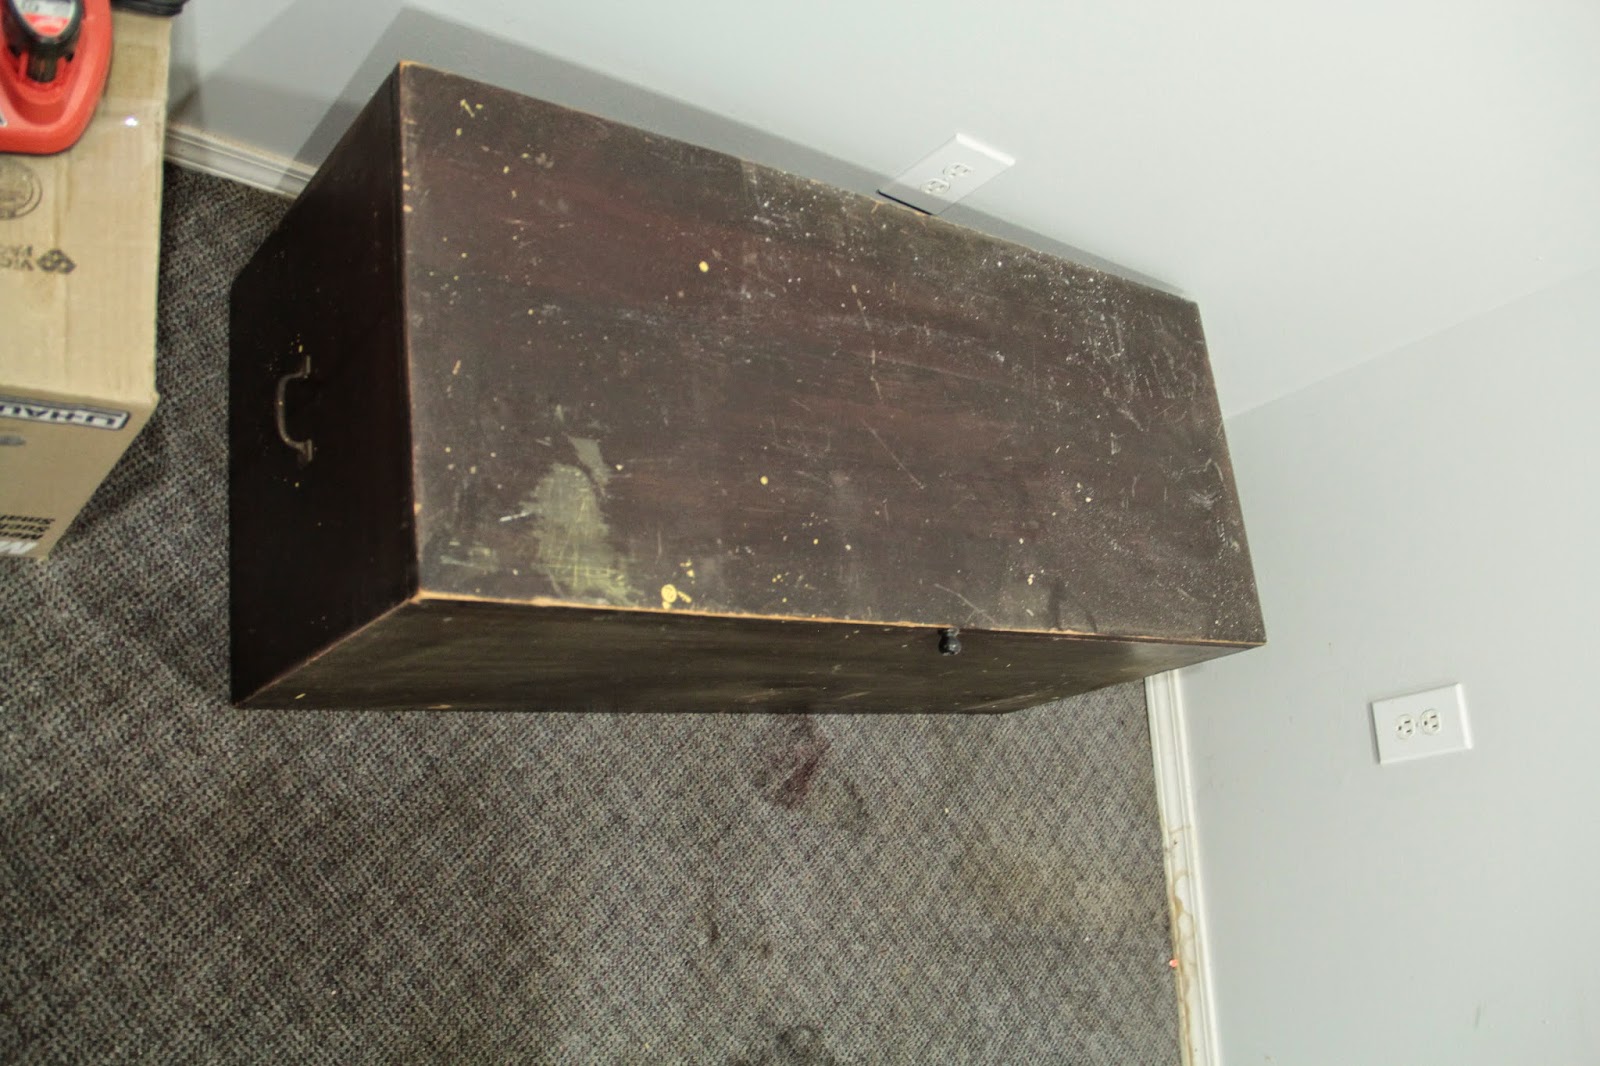 |
| It needs some cleaning. |
We collected this piece at ReStore for a bargain. I want to use my new random orbital sander to take the current paint off and remove any small blemishes. I think we are going to paint it white and try to add some distress effects to it to give it a nice antique look. I'll be posting plans and pictures of the bookshelf build first and then expect an update on the chest.
No comments:
Post a Comment