...well, sort of. What seems like many weeks ago, my brother visited from Michigan to help me with a
kitchen remodel. Toward the end of the work, I found we had room to install a new 12" base cabinet so I did. This was after we had granite counters put in just a few weeks before. I had to decide if we should call the stone shop to get a granite remnant installed or install a cutting board top. I chose the latter and decided I would make it myself. The top was too small to warrant buying a premade maple top that would have to be cut down to size and would cost more than $100. So I finally bought the thickness planer I have been wanting and made the top myself from $20 worth of hard maple.
 |
| The offending cabinet. |
 |
| The single board from which the top is made. |
 |
| The new thickness planer! |
I used the new planer to smooth the 4/4 board down to 3/4" after chopping it to rough lengths. The planer makes a mess even when connected to the vacuum. I hope to get a dust collector fairly soon to help with this problem since the Shop-Vac can't keep up. The Dust Deputy filled up quickly while planning and I may have to upgrade its bucket.
 |
| Rough sized boards. |
 |
| A messy planer. |
I then ripped the boards to the 1 1/2" I decided on for the thickness of the top. I would then turn the boards on edge for the glue up. The 3/4" wide boards were glued with a roller and clamped up. I was happy that my 12" F clamps could fit the top so I didn't have to use my very long parallel clamps. I used some cauls to help keep the boards as level as reasonable and keep them from sliding past each other on the glue.
 |
| A lot of ripping. |
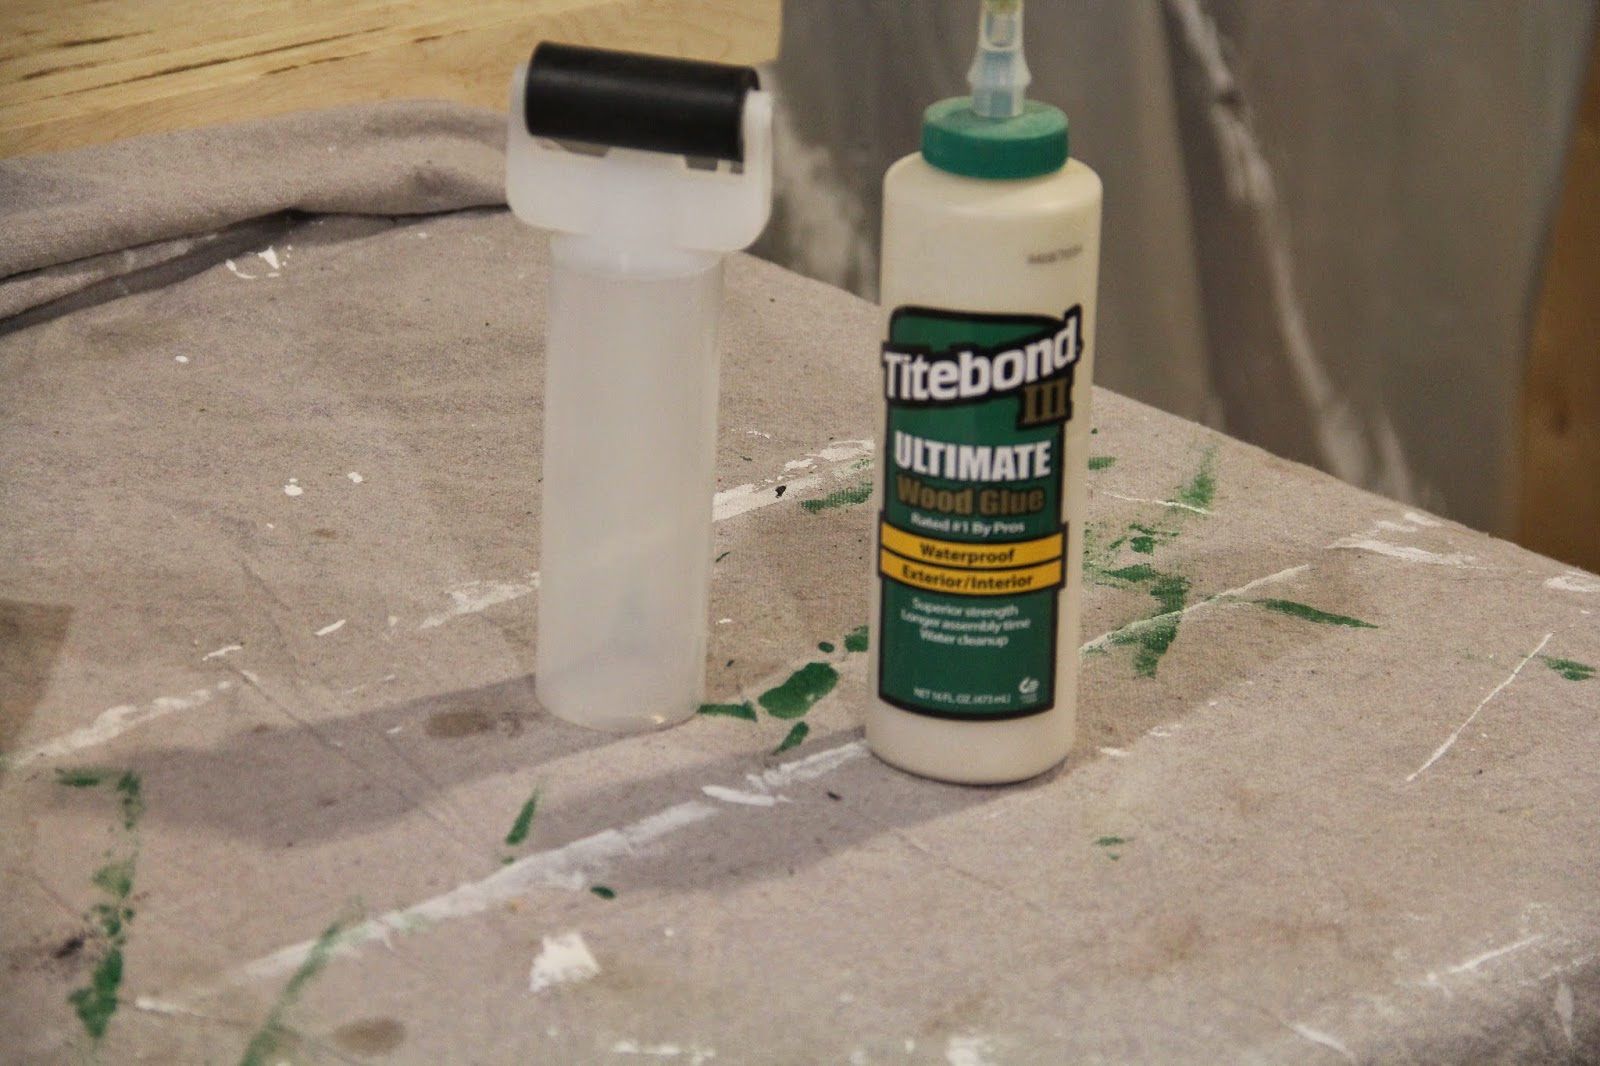
 |
| Waterproof glue and roller applicator. |
 |
| Glued up. Cauls not shown. |
 |
| Waiting for butcher block oil! |
After the glue set up I ran the top through the planer a few times to level the boards out. A drum sander would probably have been a better tool for this step but since I don't have one nor do I have room for one I chose the planer. This did make the top slightly thinner than I had planned but it is still plenty thick for the task and I can always replace it down the line. There are some defects in the wood and I'm not sure if they occurred in the planer or from other working I did to them but they are hardly noticeable and won't affect the performance of the top. I finished the piece by sanding with 220 grit paper and then treating it with several coats of butcher block oil.
 |
| Finished and in place. |
After several coats of oil with drying for a day between coats I mounted the top to the cabinet with a few screws from inside the base. It is a nice fit and I had just one strip of wood left over from the board I used which makes for little waste. I'm sure I can find a use for the scrap maple at a later date. Perhaps another shop hammer or runners for a table saw sled is in order. With the wood being so close to where we cook we will have to make sure to clean it regularly so that cooking oils don't penetrate the fibers and then go rancid. I will also have to sand and re-oil the top at least once a year to keep it protected. This was a fun project and I'm glad I got to use my planer even though it makes a mess.


No comments:
Post a Comment