Showing posts with label woodworking. Show all posts

Mar 11, 2019

Basic Shop Cabinets Pt. 1

After several months, I finally got some time to work in the shop and upgrade my tool storage. Currently, most of my tools are in a mechanic's tool chest and also strewn about the shop. In order to make more room and get organized, I started to build the base cabinets along one of the walls. These are simple cabinets built from BCX plywood. They are 36" wide and each will have two deep drawers for storage. After getting my cutlist determined, I started by breaking down the sheet goods.

Cutting plywood in the garage.
Since the shop is small and crowded, I cut the plywood in the garage on top of a sheet of foam insulation board. This provides workpiece support and allows me to cut all the way through the plywood without cutting into any sawhorses (or the floor).
Large panels sized.
After I had the sides, floors, and backs cut, I could work on some of the smaller pieces. The top frames and nail rail are also plywood and most of the carcass of the cabinet is put together with pocket hole screws.
Top frame and nail rails sized.

Top frames assembled.
With the nail rails cut out and the top frames assembled, I was ready to put the cabinets together. Again, pocket hole screws were used since the floor won't be supporting any weight. The sides will be doing all the heavy lifting with the drawer runners. With the top, sides, and floor assembled I glued and nailed the 1/4" plywood panel on the back. A rabbet was cut in the sides to accept this and the piece will help keep the cabinet square.
Assembled with backs.

First face frame.
I had enough stock on hand to build one face frame. This was assembled using pocket hole screws and will be attached to the carcass with biscuits and glue. After I finish the second face frame I need to find heavy duty drawer slides and build the drawers.

Sep 18, 2017

Poppin' Tops

For the wedding, I wanted make my groomsmen something functional that also looks nice. Since we all enjoy a good brew, I made constructed some wall mounted bottle openers from granadillo and patagonia rosewood (leftover from the ukulele stand). I thought the colors contrasted well but weren't too overwhelming. The stock was already S4S so I didn't have to do any milling which is great since I haven't yet bought a jointer. I did start by planing the boards all to the same thickness though.

Thickness planer makes a mess without a vacuum.

Glue time.
After gluing them up I sent them through the planer once more to even up the faces. I then cut the three planks out of the boards and cut the ends square. This gave me my final size for all of them.

Cross cut sled came in handy.

All three planks sized.
I wanted to personalize each one for the guys but I don't have a letter templating kit for the router. I asked the kind folks at Woodcraft and they directed me to a couple that does laser engraving at their home near the 7 Mile Fair. It was a bit of a drive but the results were great and didn't cost all that much. Before engraving, I had to apply a coat of urethane to protect the wood surrounding the engraving area. I'm glad I did because they showed me examples of boards they had lasered without a finish and the wood around the area is charred and has a strange film on it that would be difficult to sand off without affecting the engraving.

One coat of urethane.

Engraved and routed.
After engraving, I used a cove bit on the router to dress up the edges a bit and then applied three more coats of urethane. The finish really brings out the colors of the woods and should hold up to quite a bit of abuse. If it does end up getting scratched I can just sand it a bit and apply a few more coats of urethane.

Several urethane coats.
Next was to work on the backs. I wanted these to mount flush to the wall and to catch the bottle caps when opening a tasty beverage. This meant I had to route out some slots for the mounting brackets and a magnet. I used key hole hangers for the mounting hardware and a 1-1/2" diameter neodymium magnet for the catch.
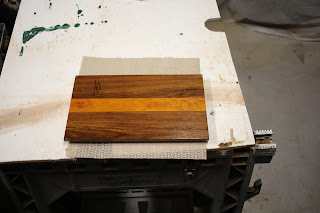
Burned my stamp in the back.

Testing router setup.

Marked the tape for start and stop points.

Key hole hardware fitted.

Hardware installed.

Magnet installed with Forstner bit.
The last step was to attache the actual opener bracket on the fronts. I made sure to arrange the back hardware screws to not interfere with the mounting screws for the opener.

All three finished.

Close up.
The end results looks really nice and the urethane provides a glossy, smooth finish that should hold up to years of abuse. I attached the magnets with epoxy which I haven't worked with before but I don't expect any problems with it. All the guys really seemed to like the gifts and I had a lot of fun making them.

Aug 22, 2017

Ukulele Stand

Siri was out of town this past weekend so I took the opportunity to spend some much needed time in the woodshop. One project that has been neglected is a ukulele stand for Siri's instrument. I wanted something nicer than pine and Woodcraft had some hardwoods on sale when I last visited so I picked up a bit of patagonia rosewood. The design I had in mind was very simple and the stock was already milled on all 4 sides so I started by cutting the boards to length.

Cut to length and joint sketched on.
The pieces were joined by a cross lap joint that I cut on the table saw with my miter gauge with a guide board fastened to it. I did a test piece first to ensure the joint was tight but not so tight that it would squeeze out the glue when put together.

Lap joint on the table saw.

Dry fitted.
After dry fitting the boards together I was satisfied with the joint so I glued the pieces up and clamped it over night. I sanded the stand with some 220 grit sandpaper and cleaned it up before applying a coat of boiled linseed oil. After letting it set for a few minutes for the oil to soak in, I wiped off the excess with a new, clean, cloth and let it dry for a few hours. I purchased a guitar hook that I mounted to the top of the stand and adjusted the arms to fit the ukulele.

Assembled stand. 
Minimalist design.


With the ukulele.
This was a fun and rather quick project. I think I spent the most time waiting for the glue to dry and then the finish to dry but that just gave me more time to work on other projects in the shop. Stay tuned for those updates in the near future.

Mar 20, 2017

Mead Rack

One of my other hobbies is mead making. Mead is just wine made with honey instead of grapes and I can sometimes make quite a bit at a time. Recently I bottled about 12 gallons of various flavors of mead and found I had nowhere to put it all. It came out to 54 bottles and my current rack in the living room only has space for 24 bottles and isn't really in a good area to bottle age the mead. So it was time for a new rack for the basement.
The 'problem.'
I started by drawing a basic rack that I would put together with pocket hole screws and nails. It is eight rectangular frames strung together and the bottles are supported by what are basically cleats. I began my cuts with a stop block mounted to the chop saw for consistency. These board were used for the horizontals and I also cut the vertical parts without the stop block since they were too long.

Stop block in place.

All frame pieces cut.
I used my pocket hole jig to assemble the frames and had the jig attached to my vacuum which kept the work clean. I had sixteen boards to drill four holes in each but this didn't take to long once I had everything set up. I put the frames together using a Kreg clamp to keep the boards flush and used 1.25" coarse thread Kreg screws as is recommended for joining 3/4" material.

Mass producing pocket holes.

Frame assembly.

All eight frames.
The next step was to make the cleats the the bottles would actually lay on. These would span horizontally from the front to the back of each frame. With the amount of wood I had setting around the shop I could only make the frames tall enough for seven rows of bottles. And to fit it in the space between the beams in the basement it could only be seven bottles wide which gives me a 49 bottle rack. With two cleats per bottle that means I needed 98 cleats total. I didn't have any small square stock so I ripped several 1x3 boards on the table saw. I then setup a new stop block on the chop saw to create my 10" long cleats.

Cleat creator.

Frames, cleats, and stringers.
After all this cutting I had all the parts to finish putting the rack together. The end frames only got cleats on the inside but the inner frames needed them on both sides. The first frame acted as my master template and allowed me to position the starting cleat in the same position on all frames. I had also cut 3 1/2" spacers to use to consistently position the remaining cleats. This resulted in the cleats being evenly spaced, parallel, and all in the same positions across the frames. I attached the cleats with finish nails.

Frames with cleats.
I then was ready to tie the frames together with the stringers I had cut earlier. I used the same 3 1/2" spacer blocks to maintain consistent spacing between frames and to ensure they were parallel when I was nailing them to the stringers. I also used a dab of wood glue for added strength on the stringers. The base has two stringers but the top only has one in the back. I left the front open so I could stack the extra bottles on top, at least until I build an extension. If I go any higher I will need to put a stringer on the front so that the weight of the bottles doesn't bow the frames out and cause the rack to fail.

Spacer blocks made everything straight and parallel.

Assembled and ready.
After assembly I moved it to its home in the storage area along the basement wall. It fit between the beams with about 3/8" on either side; perfect! I then filled it up with all of the mead I had bottled the previous Sunday that was just standing on the floor since then. Again, I had 54 bottles but my new rack only holds 49 (all of my spare wood was used) so I stacked the few extra on top. I think once I get a bit of extra wood in the shop again I'll make it a bit taller. I should be able to just build more cleated frames and attach them to this one with either pocket hole screws or dowels. The dowels could be glued on only one side to make it easy to disassemble but I doubt I'll have to move this any time soon.

Already overflowing.

May 25, 2015

A Cutting Board

...well, sort of. What seems like many weeks ago, my brother visited from Michigan to help me with a kitchen remodel. Toward the end of the work, I found we had room to install a new 12" base cabinet so I did. This was after we had granite counters put in just a few weeks before. I had to decide if we should call the stone shop to get a granite remnant installed or install a cutting board top. I chose the latter and decided I would make it myself. The top was too small to warrant buying a premade maple top that would have to be cut down to size and would cost more than $100. So I finally bought the thickness planer I have been wanting and made the top myself from $20 worth of hard maple.
The offending cabinet.
The single board from which the top is made. 
The new thickness planer!
I used the new planer to smooth the 4/4 board down to 3/4" after chopping it to rough lengths. The planer makes a mess even when connected to the vacuum. I hope to get a dust collector fairly soon to help with this problem since the Shop-Vac can't keep up. The Dust Deputy filled up quickly while planning and I may have to upgrade its bucket.
Rough sized boards.
A messy planer.
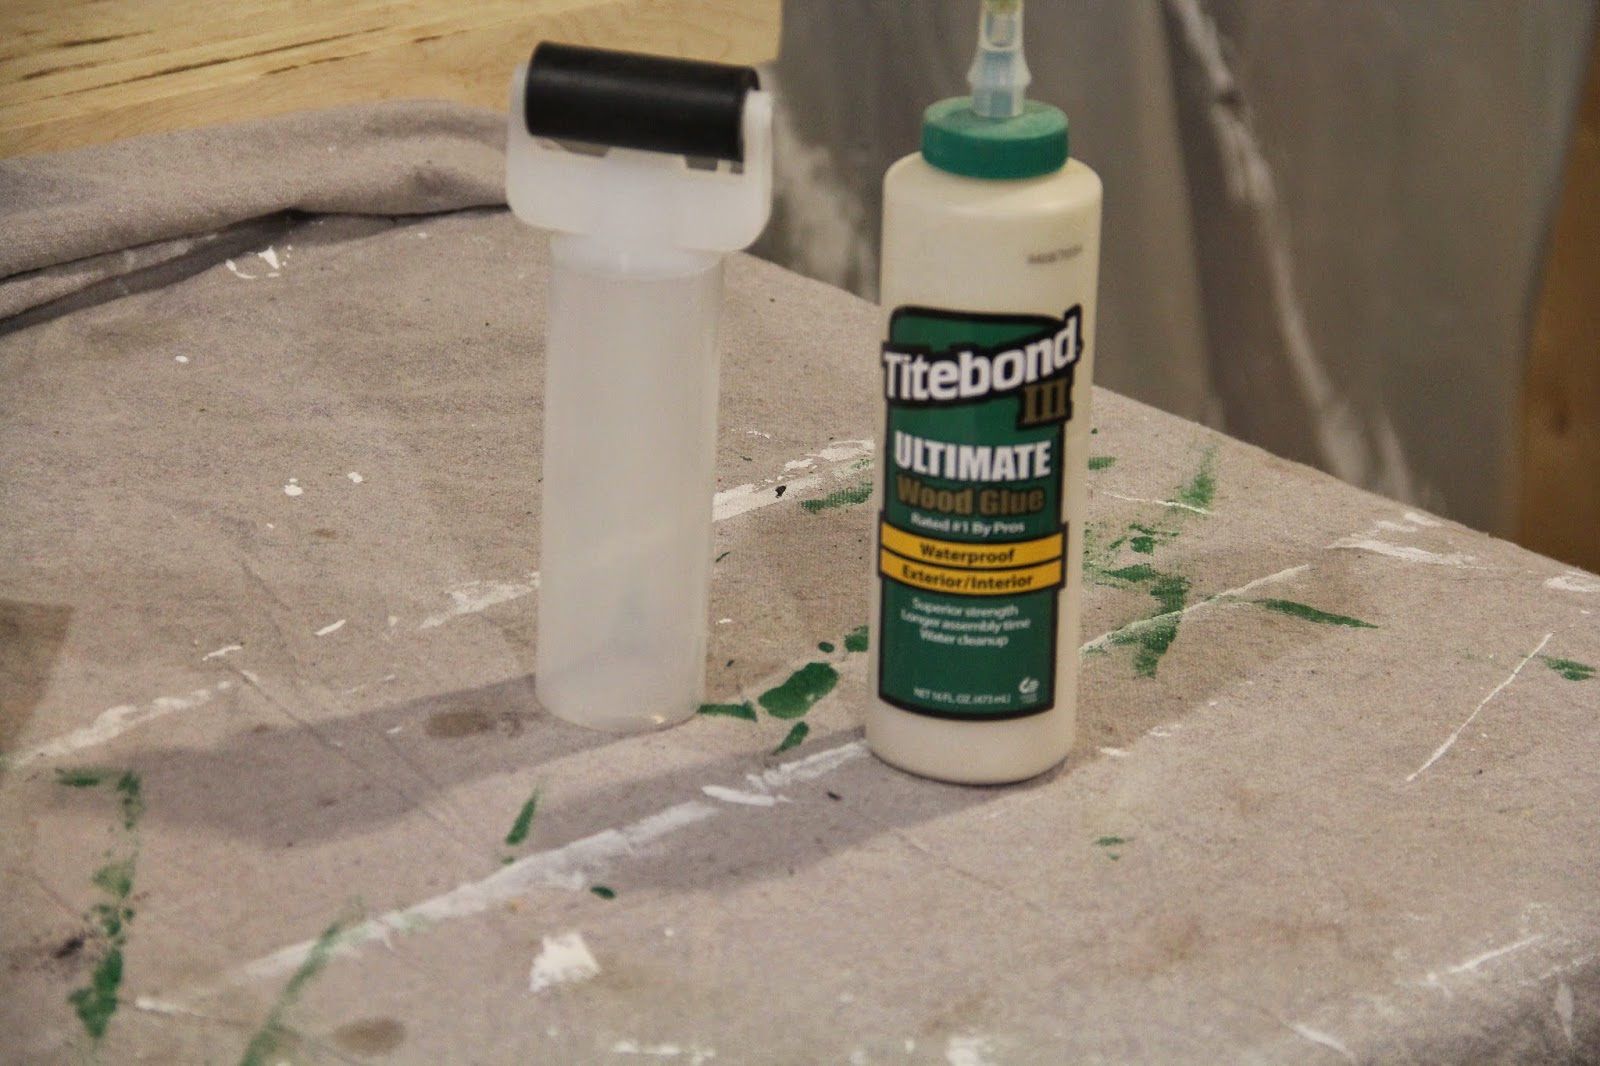
I then ripped the boards to the 1 1/2" I decided on for the thickness of the top. I would then turn the boards on edge for the glue up. The 3/4" wide boards were glued with a roller and clamped up. I was happy that my 12" F clamps could fit the top so I didn't have to use my very long parallel clamps. I used some cauls to help keep the boards as level as reasonable and keep them from sliding past each other on the glue.
A lot of ripping.
Waterproof glue and roller applicator.
Glued up. Cauls not shown.

Waiting for butcher block oil!
After the glue set up I ran the top through the planer a few times to level the boards out. A drum sander would probably have been a better tool for this step but since I don't have one nor do I have room for one I chose the planer. This did make the top slightly thinner than I had planned but it is still plenty thick for the task and I can always replace it down the line. There are some defects in the wood and I'm not sure if they occurred in the planer or from other working I did to them but they are hardly noticeable and won't affect the performance of the top. I finished the piece by sanding with 220 grit paper and then treating it with several coats of butcher block oil.
Finished and in place.
After several coats of oil with drying for a day between coats I mounted the top to the cabinet with a few screws from inside the base. It is a nice fit and I had just one strip of wood left over from the board I used which makes for little waste. I'm sure I can find a use for the scrap maple at a later date. Perhaps another shop hammer or runners for a table saw sled is in order. With the wood being so close to where we cook we will have to make sure to clean it regularly so that cooking oils don't penetrate the fibers and then go rancid. I will also have to sand and re-oil the top at least once a year to keep it protected. This was a fun project and I'm glad I got to use my planer even though it makes a mess.


Feb 16, 2015

Mjolnir

Unlike Mjolnir, my mighty hammer was not forged by dwarven brothers. Nor does it have a short handle. And it doesn't have the power to level mountains. So perhaps it is nothing like the fabled weapon of the thunder god, but I made it and that counts for something, right? I based my plans off of Steve Ramsay's "Thor's Hammer" on Woodworking for Mere Mortals.

I started with a board I found in the 'exotic cutoffs' bin at Woodcraft. I'm fairly certain it is walnut but I don't know for sure. It is pretty rough on one face, probably from the saw at the mill.
Starting board.
I cut a piece to 2 1/2" wide. The board was about 7" wide which is a bit wider than I want but leave me room to make mistakes. I next cut the cavities in the inner pieces. I don't have a drill press nor do I have a Forstner bit to cut large holes like Steve does so I improvised and used a smaller paddle bit and my jigsaw to finish them off.

About 7" x 2 1/2" x 3/4".

After drilling holes.

And finished with jigsaw.
These cavities will be where the real weight of the hammer will be: fishing sinkers. I cut these end pieces off at a 2° angle to held make a wedge where the handle will go. I also cut two more piece at about 6" for the sides.

Slight angle between the inner pieces.

All pieces for the head.
I glued the inner pieces to one side piece first. Using the other side piece on top, but not glued down, to provide a clamping surface I let the glue set up before adding my weights. I managed to get quite a few into the cavities but you can still here some movement when shaking the hammer. I then glued the other side on and worked on the handle while I waited for that glue to set.

Gluing the inner pieces to one side.

Lots of weight added.
I followed Steve's process on creating a simple tenoning jig out of some 2x4 stock I had lying around. It probably isn't the most accurate jig but it gets the job done for this project. I used a scrap of purpleheart I had left over from the table saw sleds I made some time ago.

Using the tenoning jig.
I then cut the wedges for fastening the handle into the head of the mallet. These were cut from the walnut board I had and were also cut at a 2° angle. Because I wasn't very accurate with my tenoning jig I had to make wedges of various sizes.

Wedges and handle.

Head glued up.
To add a little style to the head and comfort to the handle I tilted my table saw to a 20° angle and trimmed off the corners of both parts. I ran the handle through in different orientations to smooth out any hard corners. Afterwards I put it all together by gluing the wedges into the top of the mallet head in between the handle's tenons. I coaxed these in with my regular hammer to ensure a snug fit. I let the glue set up and then cut the excess off with my Japanese razor saw.

Added wedges.

Trimmed down.

Finished with boiled linseed oil.
After a bit of sanding to smooth out the top and then some finish sanding to smooth out the handled I applied a coat of boiled linseed oil which I can renew as needed. I do plan to add leather patches to both sides of the mallet head to help protect my work pieces. I do need to practice my tenoning as the mallet head doesn't quite sit right on the shoulder cuts of the handle. Being a shop project I wasn't concerned with the woods used but I noticed that the walnut and purpleheart don't really compliment each other very well. Overall I'm quite pleased with the end result and look forward to using it in the shop.