Feb 16, 2015

Mjolnir

Unlike Mjolnir, my mighty hammer was not forged by dwarven brothers. Nor does it have a short handle. And it doesn't have the power to level mountains. So perhaps it is nothing like the fabled weapon of the thunder god, but I made it and that counts for something, right? I based my plans off of Steve Ramsay's "Thor's Hammer" on Woodworking for Mere Mortals.

I started with a board I found in the 'exotic cutoffs' bin at Woodcraft. I'm fairly certain it is walnut but I don't know for sure. It is pretty rough on one face, probably from the saw at the mill.
Starting board.
I cut a piece to 2 1/2" wide. The board was about 7" wide which is a bit wider than I want but leave me room to make mistakes. I next cut the cavities in the inner pieces. I don't have a drill press nor do I have a Forstner bit to cut large holes like Steve does so I improvised and used a smaller paddle bit and my jigsaw to finish them off.

About 7" x 2 1/2" x 3/4".

After drilling holes.

And finished with jigsaw.
These cavities will be where the real weight of the hammer will be: fishing sinkers. I cut these end pieces off at a 2° angle to held make a wedge where the handle will go. I also cut two more piece at about 6" for the sides.

Slight angle between the inner pieces.

All pieces for the head.
I glued the inner pieces to one side piece first. Using the other side piece on top, but not glued down, to provide a clamping surface I let the glue set up before adding my weights. I managed to get quite a few into the cavities but you can still here some movement when shaking the hammer. I then glued the other side on and worked on the handle while I waited for that glue to set.

Gluing the inner pieces to one side.

Lots of weight added.
I followed Steve's process on creating a simple tenoning jig out of some 2x4 stock I had lying around. It probably isn't the most accurate jig but it gets the job done for this project. I used a scrap of purpleheart I had left over from the table saw sleds I made some time ago.

Using the tenoning jig.
I then cut the wedges for fastening the handle into the head of the mallet. These were cut from the walnut board I had and were also cut at a 2° angle. Because I wasn't very accurate with my tenoning jig I had to make wedges of various sizes.

Wedges and handle.

Head glued up.
To add a little style to the head and comfort to the handle I tilted my table saw to a 20° angle and trimmed off the corners of both parts. I ran the handle through in different orientations to smooth out any hard corners. Afterwards I put it all together by gluing the wedges into the top of the mallet head in between the handle's tenons. I coaxed these in with my regular hammer to ensure a snug fit. I let the glue set up and then cut the excess off with my Japanese razor saw.

Added wedges.

Trimmed down.

Finished with boiled linseed oil.
After a bit of sanding to smooth out the top and then some finish sanding to smooth out the handled I applied a coat of boiled linseed oil which I can renew as needed. I do plan to add leather patches to both sides of the mallet head to help protect my work pieces. I do need to practice my tenoning as the mallet head doesn't quite sit right on the shoulder cuts of the handle. Being a shop project I wasn't concerned with the woods used but I noticed that the walnut and purpleheart don't really compliment each other very well. Overall I'm quite pleased with the end result and look forward to using it in the shop.

Feb 8, 2015

The Infamous Bookcase

As the largest piece of furniture I've built so far, the bookcase was a very interesting project. I've been telling many people that I was building one for some time now and I have finally completed it. I started with some simple plans that I did not adhere too. This was okay but made for some fixes later on. First, I started with the panels for the carcass. The bottom and sides were 3/4" oak veneer plywood and the top was 1/2". The shelves are 1/2" plywood with oak fronts.

Using my panel sled for the carcass and shelves.

Shelves cut.
The sides have rabbets for the bottom and back. The top has rabbets for the sides and back. And finally the bottom has a single rabbet for the back. The trick with all of these is to cut all of the similar ones at the same time (e.g.: 1/4" rabbets on the top, sides, and bottom for the back panel). This makes it so you only have to set up the saw once and all of your cuts will be the same.

A sacrificial fence for rabbets.

Rabbet for 1/4" plywood back.

Rabbets galore!
After all of the plywood was cut I could start assembly. I started with the carcass and used glue and finish nails to hold it all together. I made sure to make it square by measuring the diagonals and verifying they were equal. This made cutting and attaching the back panel very easy. I just attached it with some pin nails.

Carcass coming together.

Fastened the back with pin nails.
The shelves were cut from 1/2" plywood and a 1" x 2" oak board was used to dress up the front as well as add some reinforcement. It is attached with glue and some nails.

One shelf at a time.
I also used the same oak boards as the face frame and trim for the carcass. This was one of the fixes I had to do for not following a plan. The trim was needed to simply cover the plywood ends that I probably would not have had if I had followed my plans. Lesson learned! It did turn out fine in the end though.

Trim and face frame for the carcass.

Complete!
I finished it in boiled linseed oil and this added a nice glow to the oak. I had a lot of sanding to do before I started with the finish but it made the BLO turn out that much nice. I did not fill in the nail holes and left them as 'shiners'. I'm not sure if I like this look but I didn't want to ruin the natural look of the wood with fill. This could be avoided if I get a biscuit joiner to attach the face frame to the carcass or by filling with a matching wood fill.
Some things I notices as I constructed this piece: The bottom frame isn't totally level, luckily our floor isn't either so they cancel each other out. I think I should I have found matching fill for the nail holes but the finish nails are small enough to barely notice. Also, I need more clamps. I could only build one shelf at a time as I ran out of clamps.

Dec 14, 2014

Refurbished Chest

A while back I had mentioned that Siri and I found a chest at ReStore and were going to, well, restore it. Today was the day! I had previously sanded it down in an attempt to get the old finish off of it and find bare wood. After a lot of that I realized that since we were painting it removing the old finish wasn't necessary. So I sanded the entire thing to give the new paint something to adhere to.

Started with the cover and hardware removed.

After sanding for paint.
After sanding, I tried out some white milk paint I picked up at Woodcraft. In retrospect I should have primed it first since the wood was very old and absorbed a great deal of the paint as seen below.
Milk paint turned out badly.
In order to add some character to the chest I bought some 1x3 select pine boards and added some decorative framing to emulate a panel look on the chest. This was my first chance to use one of my new tools as well: a brad nail gun.
The brad nailer made this go much more quickly.

Trimming the corners.

Front has a divider.
You may be able to notice in the picture showing the corner that one of the boards is slightly narrower than the other. This was done purposely. The boards are 2 1/2" wide and in order to have the corners look uniform I took off 3/4" from one side board which, when butted up against the front corner board that is 3/4", made it appear 2 1/2" matching the front board. Next up was the top panel. This took some finagling to get it to look right. To make it the same dimensions as the box with the new framing I ripped some boards to 3/4" and nailed them on to the edges of the top. Then I added framing similar to what I attached to the main box except that I let it overhang about 3/4". This gives the box a bit more character and give a handle to open the lid by. 
Adding to the top to match the box size.

The top framed and set on top.
With all of the framing done it was time to sand again! This sanding helped to smooth out the various joints and the wood fill I used in the nail holes and some small dings and dents. After I vacuumed the sawdust off and started priming. I put two coats of Zinsser on and will paint it tomorrow night.
Sanded.

Primed.


Nov 16, 2014

Let's Go Sledding!


This morning I spend some time down in the workshop getting a few projects done that I have been putting off for some time: table saw sleds and painting the viking chair. I made two sleds for the saw, a crosscut sled and a panel sled. The first step in making sleds is to make your runners that go in the miter slots. I used a small piece of purpleheart I picked up at Woodcraft for my runners.
Purpleheart runners. It is much more purple in person.
This was my first time working with actual hardwood and it is much different to work with than the pine that I am used to. I made sure to pre-drill all of my screw holes so I wouldn't split the wood. I cut runners to fit in the 3/8" x 3/4" miter slots on my table. Working with such small pieces can be dangerous so always exercise caution. I also made a featherboard to help hold the work pieces against the fence for more uniform cutting. The first one didn't turn out so good, especially since there was a knot in the board and the feathers just broke off. The next attempt was much better as I cut the end at an angle and it was a narrower board to work with.
The first featherboard didn't quite work out. Note the knot.

The second iteration. Angled at 30 degrees.

Clamped to the miter gauge to guide the runners in.
After the runners were made I moved on to the base of the sled. I used 1/2" MDF cut to about 34" wide and 24" deep. I placed the runners in their slots and put the base on top, aligning all three pieces with the edge of the table. I pre-drilled and countersunk the screws to faster the base to the runners.
Cutting the base to size from 1/2" MDF.

Lining up the runners and base before attaching.

Attached with pre-drilled and countersunk screws.
Next was the front and back of the sled which I made from two pieces of 3/4" MDF laminated together. The back is the only one of the two pieces that really needs to be aligned properly. I cut a small slot in the base with the table saw and lowered the blade back down. I placed a scrap piece of lumber in the slot and used a large square to align the back fence with the saw slot. I roughly followed what Marc Spagnuolo from The Wood Whisperer shows in this video. When laminating the fences, I broke a couple of my cheap Home Depot clamps. Looks like I need some nicer ones in the near future.
The finished sled. A bit heavy.

I need more clamps!
The second project was a small panel sled. This was made using a lot of the same principles but only occupies one side of the table.
Attached the purpleheart runner.

Using my largest square to align the fence.

Complete!
And finally, the painting of the viking chair! I am using General Finishes Emerald Milk Paint. I put two coats on after doing some additional sanding I did not complete last time.
First coat of Emerald.
I would like to build a few more featherboards, but I will just make them when I need them as they only take a few minutes to cut. I bought this air nailer set from Woot at a good price and I plan to use the brad nailer for the bookcase and attaching the edge finish on my computer desk.

Oct 18, 2014

Viking Chairs!

A chair fit for a marauder! Well, two chairs actually. My good friend John came over and we built a pair of small chairs based on Steve Ramsey's designs. Ramsey is a great person to follow if you're interested in getting into woodworking. He has fairly simple projects, most of which can be made using a basic set of power and hand tools. Ramsey does have quirky humor to get past first though.

But back to our project! We started with a couple of half sheets of 1/2" BCX plywood. If you're unfamiliar with what BCX means then keep reading. Plywood is typically graded on a letter scale so BCX means that one side (B side) is sanded fairly smooth but may have some voids that are filled with wood fill. The other side (C) is not quite smooth and may have some unfilled voids. The X stands for exterior grade glue between the layers of wood. Since this will be used outside, the exterior grade glue will be needed and we are going to paint the chairs with milk paint to protect the wood.

The first step was to cut the plywood down and laminate them together to form boards 1" thick. And this is where I realized I need more clamps! If ever you need to buy a woodworking a gift, clamps are a safe bet.

Cut the plywood to about 10" wide and laminated them.

We added countersunk screws to help hold where clamps should be.

One chair laminating complete.

Here are some unfilled voids on the 'C' sides which were glued together.

Adding some screws.

All glued!
After we let the glue set up for about 45 minutes we started squaring up the edges. I started with a straightedge and a router to get one side straight and then moved it to the table saw to square up the other side. Having John around to act as the outfeed table since I don't have one (yet) was very helpful and made the job a lot safer.

Straight bit in the router following a straight edge.

Squaring the other side, John is the outfeed table.
Next we squared up the ends. For this step I set up a sacrificial fence on the table saw. This was simply a piece of 1/2" MDF that was clamped to my fence and partially covered the blade. I started with the blade below the table surface and, with saw on, raised the blade thereby cutting an arched groove for the blade to ride in. Part of the blade protrudes beyond the sacrificial fence and this is what we used to square the ends. By using the miter gauge to guide the boards along the sacrificial fence the table saw takes off a fraction of an inch and squares the end of the board.

Sacrificial fence installed.
We focused on the seats of the chairs next. By following the plan, we basically made a 7" wide through tenon that would slide through a mortise in the back of the chair. The long cuts we made on the table saw and finished with the jigsaw. We cut the short shoulders with the jigsaw as well, removing strips about 20" long by 1 1/2" wide.

Using a combination square to help layout the lines.

First cuts were made on the table saw.

Finished with the jigsaw, rounding the outside corners as well.

Sanding!

Sanding the rounded corners.

The chair backs were next to do. I attempted to add a bit of flourish to my chair and John cut a simple curve on the top. The mortise was cut with a paddle bit in the drill and finished with the jigsaw.

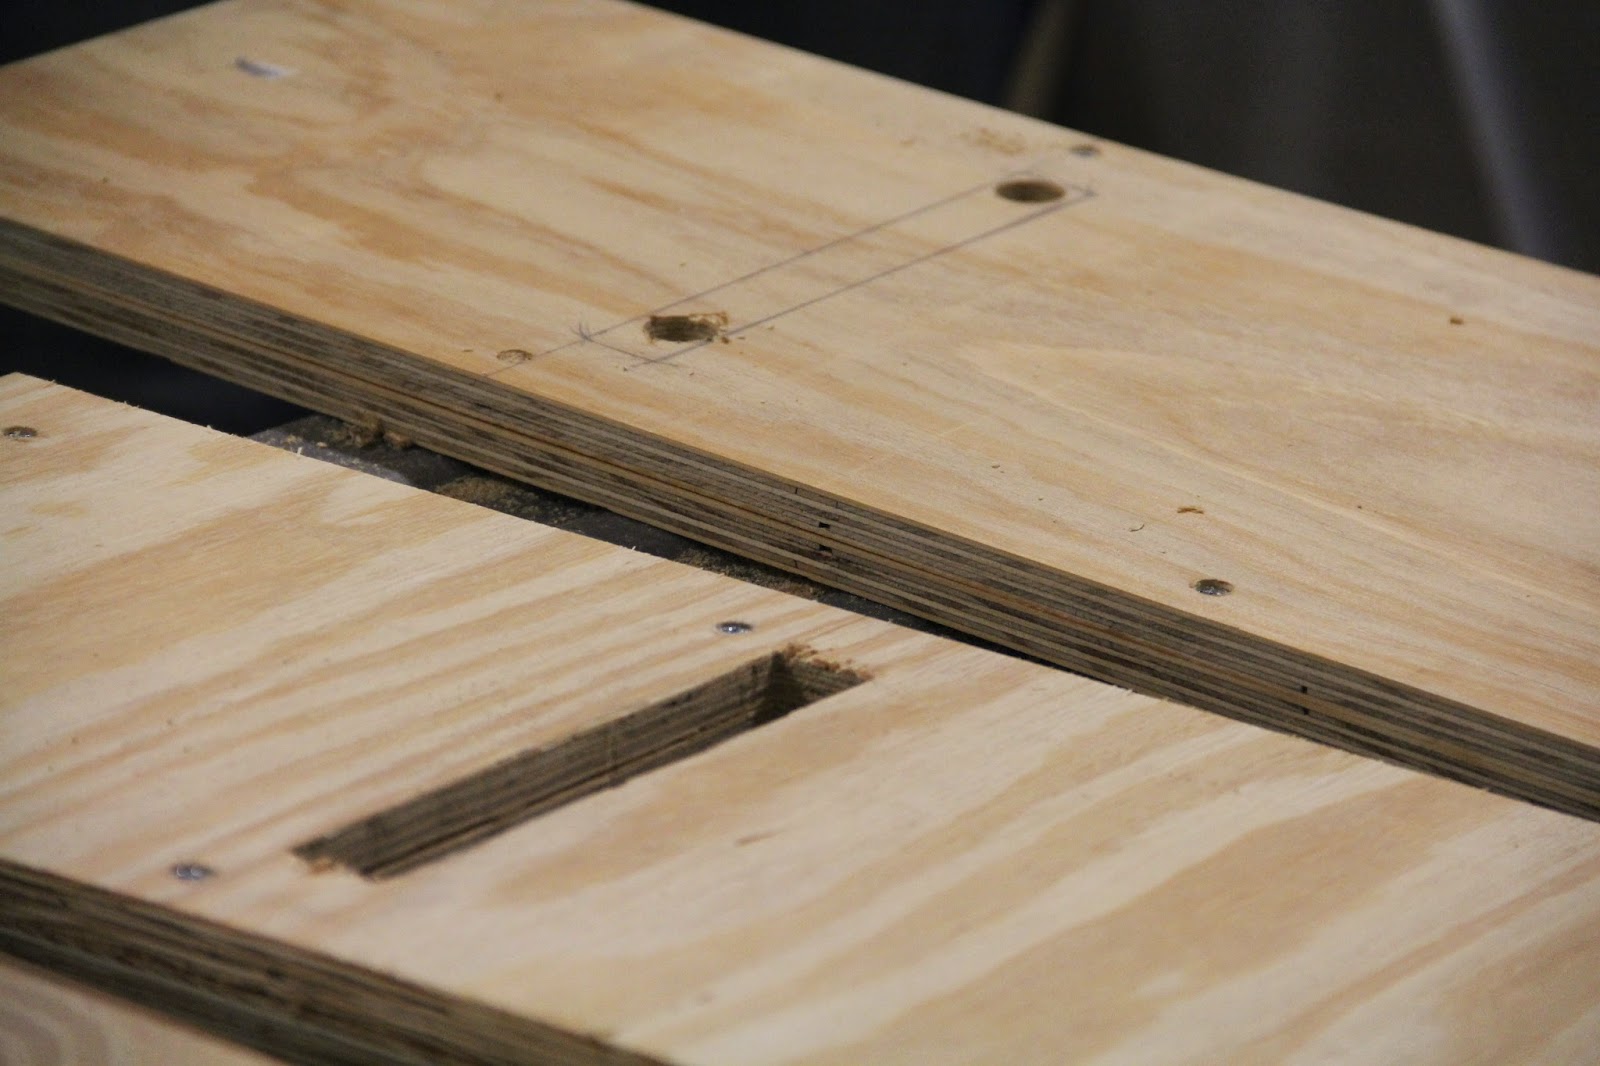
My poorly made handle. A narrower jigsaw blade would have made this easier.

John's mortise is started with the holes to make room for the jigsaw to be used.
And this is about where disaster struck. Or rather, my fat ass struck. In sitting in my chair I leaned back a bit and heard cracking wood. Reinforcement was needed desperately.

Disaster!

My chair in its unbroken state.

John's chair in all its glory.
John and I used some of the scraps we cut off to reinforce the backs. By mounting the narrow strips we cut from the seats on the chair backs, we added a bit of strength. I also added some plywood to the sides to add more strength since my chair already had cracks in it. I took a single sheet and mounted it to these reinforcement boards to make a holder for the seat when the chair is disassembled.

Completed chairs.

The reinforcements and holder on the back side of my chair back.

The seat in the holder.
My chair is much stronger now but much heavier than I had thought it would be. Both John and I need to paint our chairs. Mine will be emerald green and John had picked a dark red. I need to do more sanding before I paint as the seat fits too snugly in the holder and paint will either prevent it from fitting at all or it will just be scraped off.

As with all my projects I learned quite a lot. Narrower jigsaw blades will help with the curves I wanted to cut. I also would benefit from building a crosscut sled for the table saw. 

Here is a link to the SketchUp plan for the basic chairs. I would recommend checking out SketchUp for woodworkers as it is a good tutorial on how to use the program for planning and designing your builds.